
Ralph’s List of Essentials
Let’s be honest, getting started with card making can be overwhelming. There are so many tools and supplies to choose from that it’s easy to become overwhelmed and frustrated. Let me try to help.
This list is meant to provide recommendations for those looking to begin cardmaking. Please note, there are many wonderful brands and products out there in the crafting world and it would be impossible to list them all. The items on this list are products that I personally use and love.
The products listed here are meant to cover the basics/essentials a card maker would want. That means the list primarily focuses on tools/materials and not creative pieces such as stamps/dies/stencils.
Note: Many of the links in this guide are affiliate links that provide a small commission to me when you make a purchase. Thank you for your support.
I. STAMPING
Stamping Apparatus
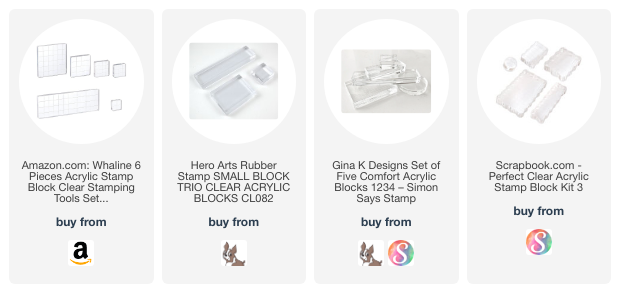
Acrylic Blocks:
Acrylic blocks are the most budget friendly way to begin stamping. These are essentially solid see-through blocks (sometimes with grid lines etched in them) that you can apply your stamp to and use the block as a handle.
The blocks are cheap, easy to store, and rely on the user to “free-hand” the placement of the stamped images on your paper. You can find acrylic blocks from just about any stamp company or craft store in the world, but here are a few of my favorites:
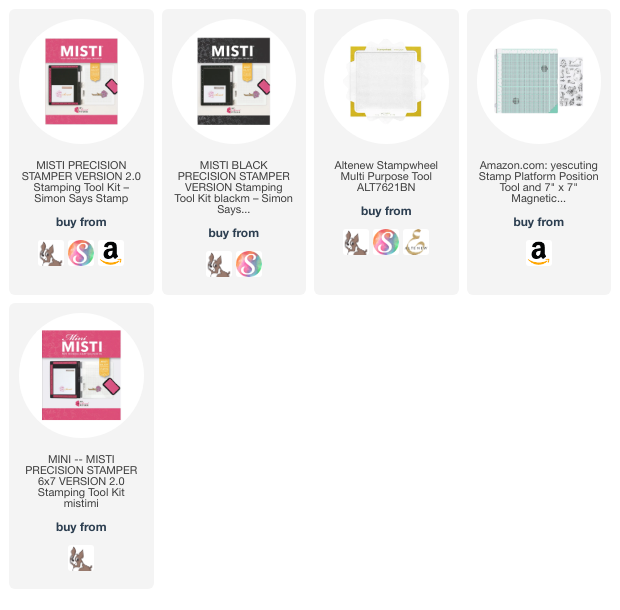
Stamp Platforms:
If you’re working with a larger budget, or think you’ll be into stamping for the long-term, I would highly recommend investing in a stamp platform. I use a stamp platform for 95% of all the stamping I do.
These tools will allow you to stamp more accurately and with confidence. The most important feature in my opinion is that these platforms will allow you to re-stamp your images multiple times in the same spot. That way, if your stamped image isn’t perfect on the first impression you can easily re-stamp in the same location. This cuts down on mistakes and waste!
There are several stamp platforms on the market – and I personally have and use several. My everyday platform is the MISTI, but all of the platforms below are all great options.
Inks:
I could write an entire book about inks but I won’t bore you. If you’re starting out, I would recommend having one good black ink for stamping outlined images and sentiments.
I would also recommend having a collection of colored dye inks. You will find there are MANY brands with their own line of dye inks. I would recommend choosing one and growing that collection over time. It’s easy to get overwhelmed starting out if you try to collect many different lines at once.
A few of my favorite dye ink lines are:
Distress Ink — NOT to be confused with Distress Oxide
Note: All of the ink lines above come in both full-size ink pads and mini ink cubes. Consider purchasing the ink cubes for a more budget friendly option!
II. Die-Cutting
Die Cutting is the name for the process wherein shapes are cut out of your paper by placing a metal ‘die’ on top of the paper and running it through a die-cutting machine. Most die cutting machines also allow you to emboss paper. Both are very popular techniques in the card making world. Electronic machines are a bit more expensive but good for those with hand/wrist issues as it doesn’t require you to hand crank.
My everyday machine is the Sizzix Big Shot. Another super popular option is the Spellbinders Platinum 6. There are many more to choose from though.

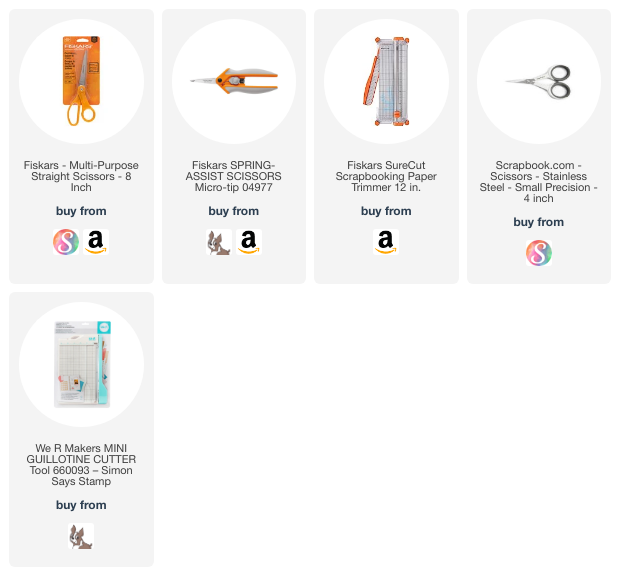
III. Manual Cutting
Die cutting machines are fun and all, but sometimes you just need an old fashion paid of scissors or paper trimmer. These are some of my favorite must-have cutting tools.
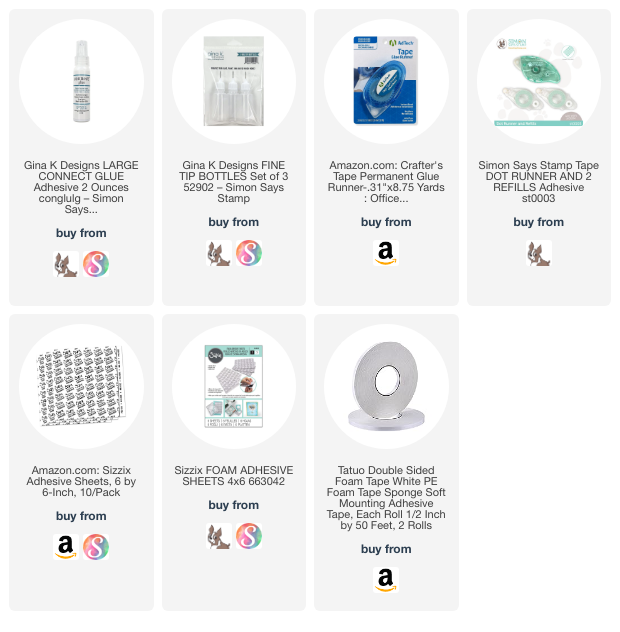
IV. Adhesives
If you’e followed me for anytime you know I use a lot of adhesive. While you may see me rotate through many types of adhesive, there are four primary types of adhesive you’ll see me use:
Tape Runner: quick, easy, mess-free
Liquid Glue: strong hold, gives extra “wiggle time” so you can adjust placement before drying, more accurate placement than tape runner
Adhesive Sheets: these are double-sided adhesive sheets that you can apply to one side of your cardstock, essentially turning the cardstock into a sticker. These are mess-free and helpful for super intricate pieces where liquid glue would be too messy.
Foam Tape: super strong hold, adds dimension to your project
See some of my most favorite adhesives below:
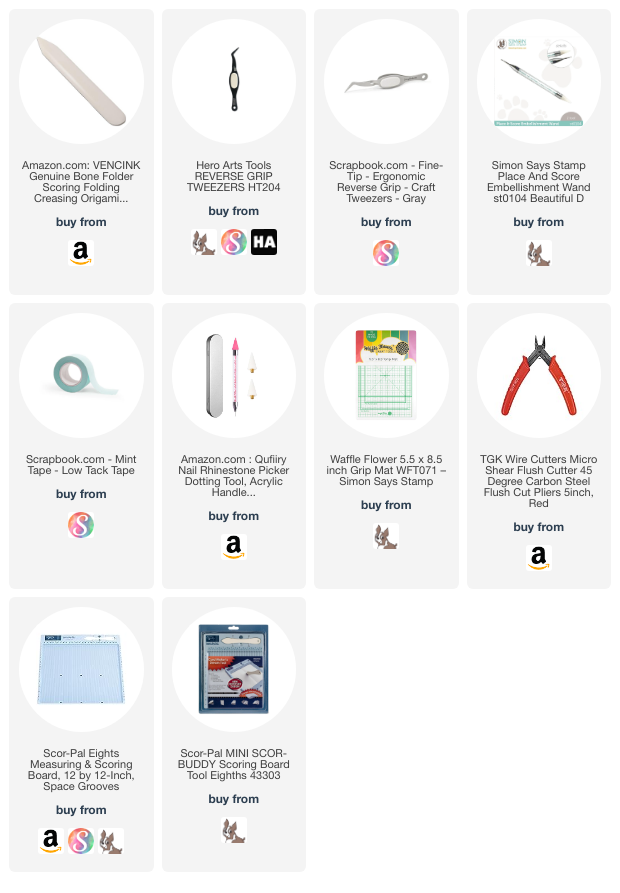
V. Miscellaneous Tools
These are all the little bits and bops that I grab for ALL the time in my craft room. They’re small but mighty and I recommend all of these for anyone serious about getting into this hobby.
VI. Paper
I use 110lb cardstock for all of my card bases. I primarily use white cardstock for my bases and would recommend Neenah Cardstock.
For additional layers on your card I would recommend a medium weight cardstock such as 80lb. However, I often use heavyweight cardstock for layering too — not necessary!
There are two main ways (in my opinion) to purchase colored paper.
Buy paper pads/packs that have multiple options in one. For this, I would highly recommend the paper pads from Scrapbook.com. Their pads typically come in a pad of solid colors and coordinating pad of patterned paper.
Purchase individual packs of colored cardstock from your favorite brand. Many brands create colored cardstock that coordinates with their colored ink line. For instance, the Hero Arts paper here comes in many of the same colors as their ink so that you can pair them together easily. I personally have a full line of the Hero Arts cardstock.
If you’re just getting started, there’s nothing wrong with using the paper you can find at your local big box craft store! Just remember that quality paper DOES make a difference, and at some point your may want to consider splurging on high-quality paper if your budget allows.
FAQs
-
Check out all of my favorite stores to shop here: https://www.ralphtyndall.com/shops
-
A traditional die cutting machine requires you to purchase metal dies in order to cut shapes. While the cost of the machine is cheaper than a cricut, the metal dies can add up over time. A traditional die-cutting machine has the lowest start-up price but may be more expensive over time.
Personally, I prefer the quality of cut that comes from a traditional die-cutting machine to that of a Cricut. A traditional die-cutting machine also allows you to emboss paper, where a Cricut does not. A cricut allows you to write and draw images.
Ultimately the choice is personal and largely depends on how you intend to use the machine.
-
A stamp platform will allow you to easily stamp the same image in the same exact spot multiple times. This is helpful because many times your first stamp may not fully transfer the image. When using a stamp platform you can stamp the same image as many times as you need to get full coverage.
It’s also helpful if you are mass-producing cards as you can stamp the image in the exact same place across many cards.